
Interior Wall Framing, Drywall, and Finish Work
Wavy walls, nail pops, and seams that show through two coats of paint are almost always a framing or drywall problem, not a painting problem. Getting interior wall framing and drywall right means every trade that comes after, paint, trim, cabinets, tile, has a flat, square surface to work from. When framing is out of plumb or drywall is hung and finished carelessly, those problems follow the project all the way to the end.
High Quality Contracting handles interior walls from the first stud to the final skim coat, on full home remodels, room additions, basement finishes, and commercial tenant improvements.
What Can Go Wrong When Walls Are Done Cheap
Most drywall complaints come down to a short list of skipped steps. Framing that’s out of plumb by even a quarter inch throws off every finish that follows. Studs that are crowned or twisted create high spots that no amount of mud fixes cleanly.
On the drywall side, bad taping is the most common failure. Tape that bubbles, lifts at the edges, or gets buried under one fat coat of mud will telegraph through paint within a year. Skipping coats is the other one: a proper finish takes three coats of joint compound, feathered wide on each pass. Two coats, or one thick coat dressed up to look like three, won’t hold.
Corner bead installed crooked or without enough fasteners chips and dents. Screw dimples that aren’t set and filled correctly create a field of small shadows under raking light. These aren’t cosmetic issues; they’re installation shortcuts that cost money to fix later. If you’re dealing with a wall that may need to come down first, here’s how to tell whether it’s load-bearing before any framing work starts.
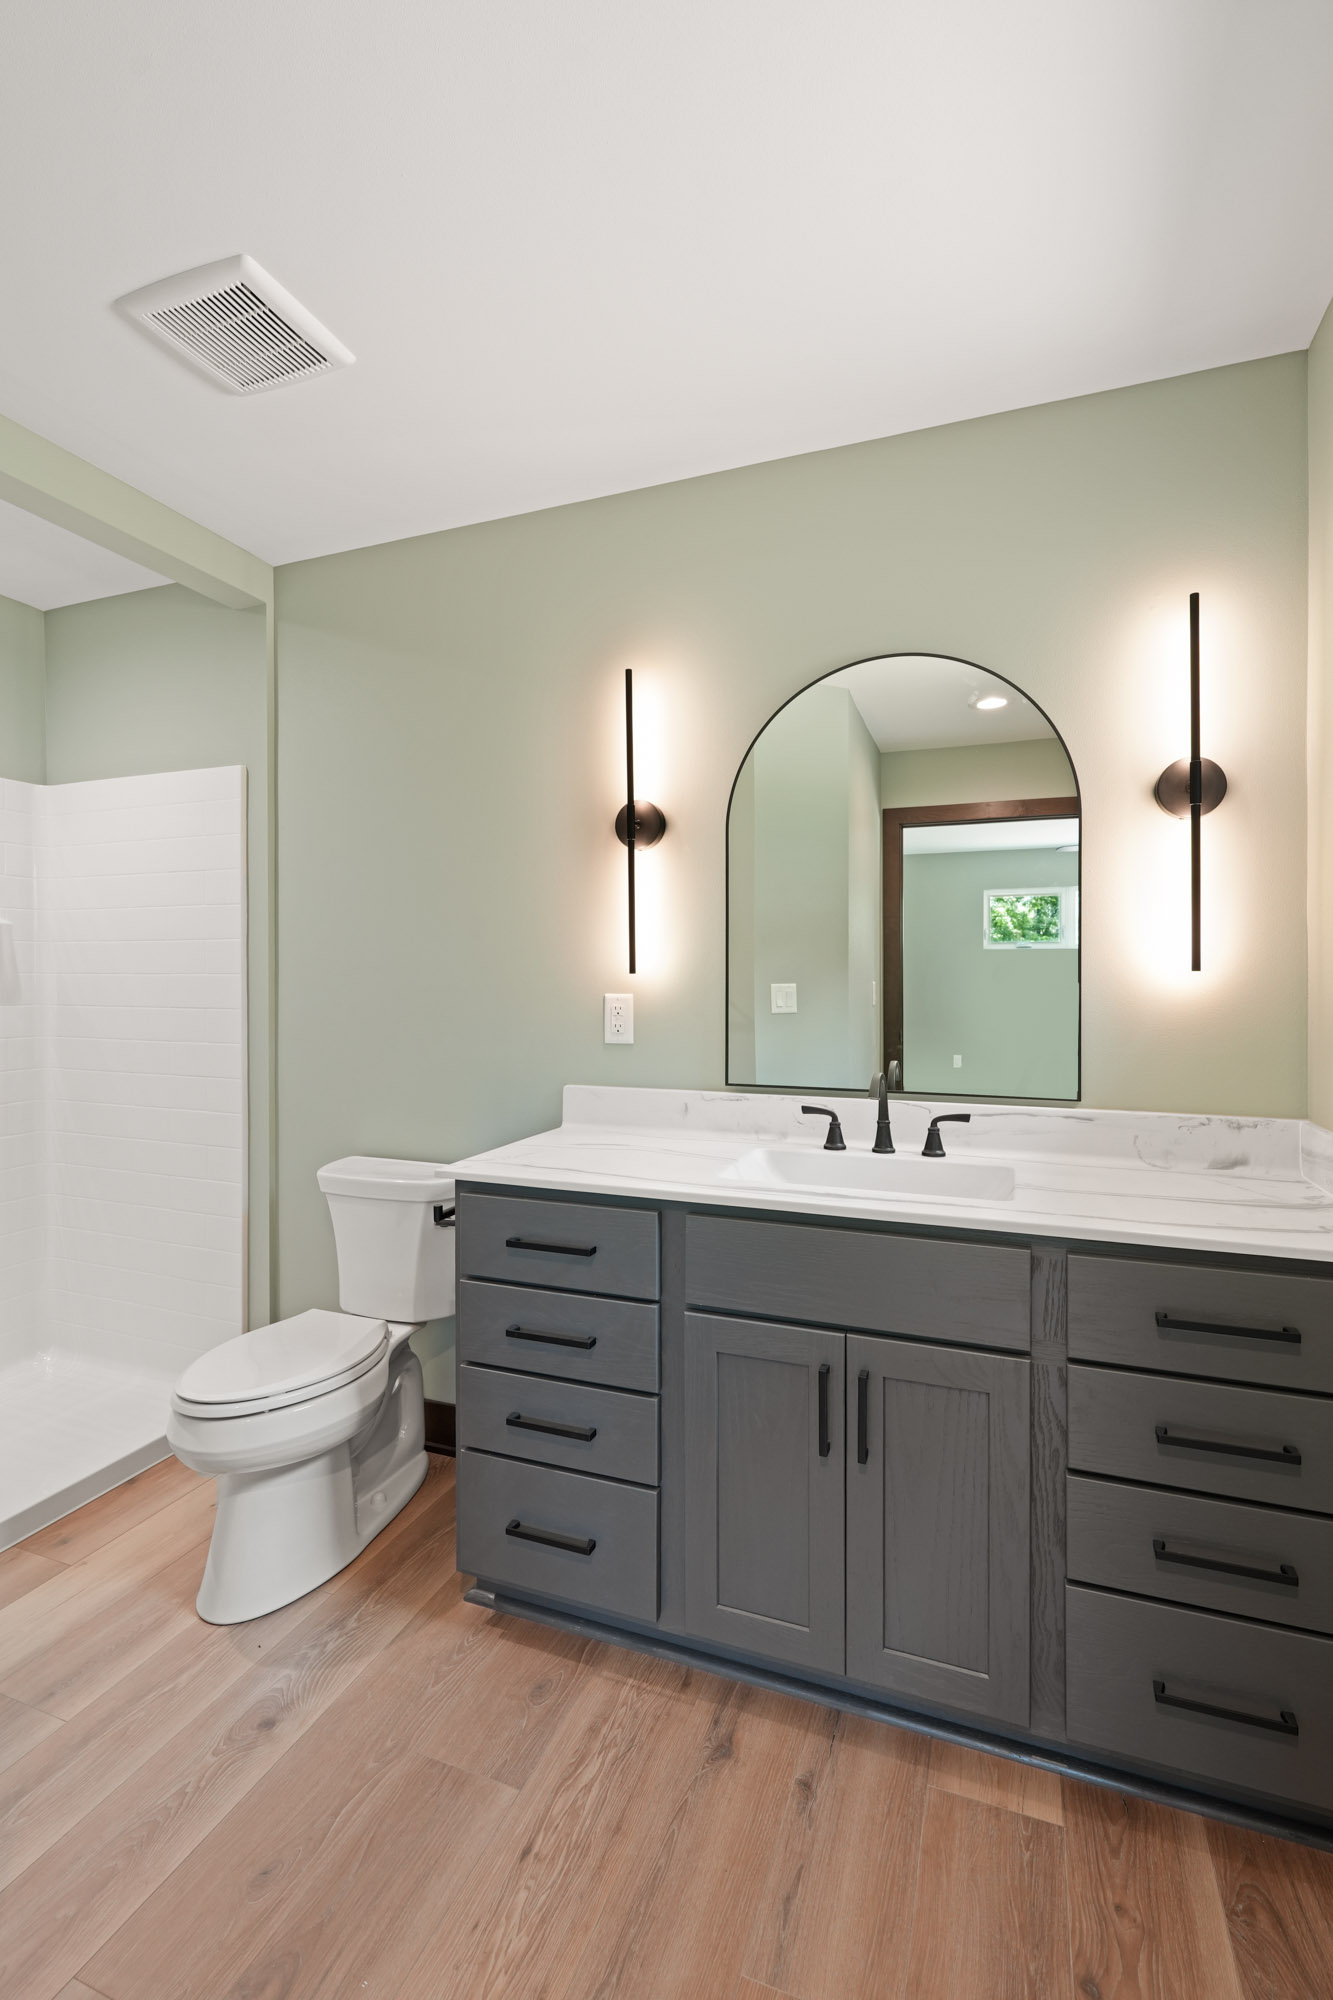
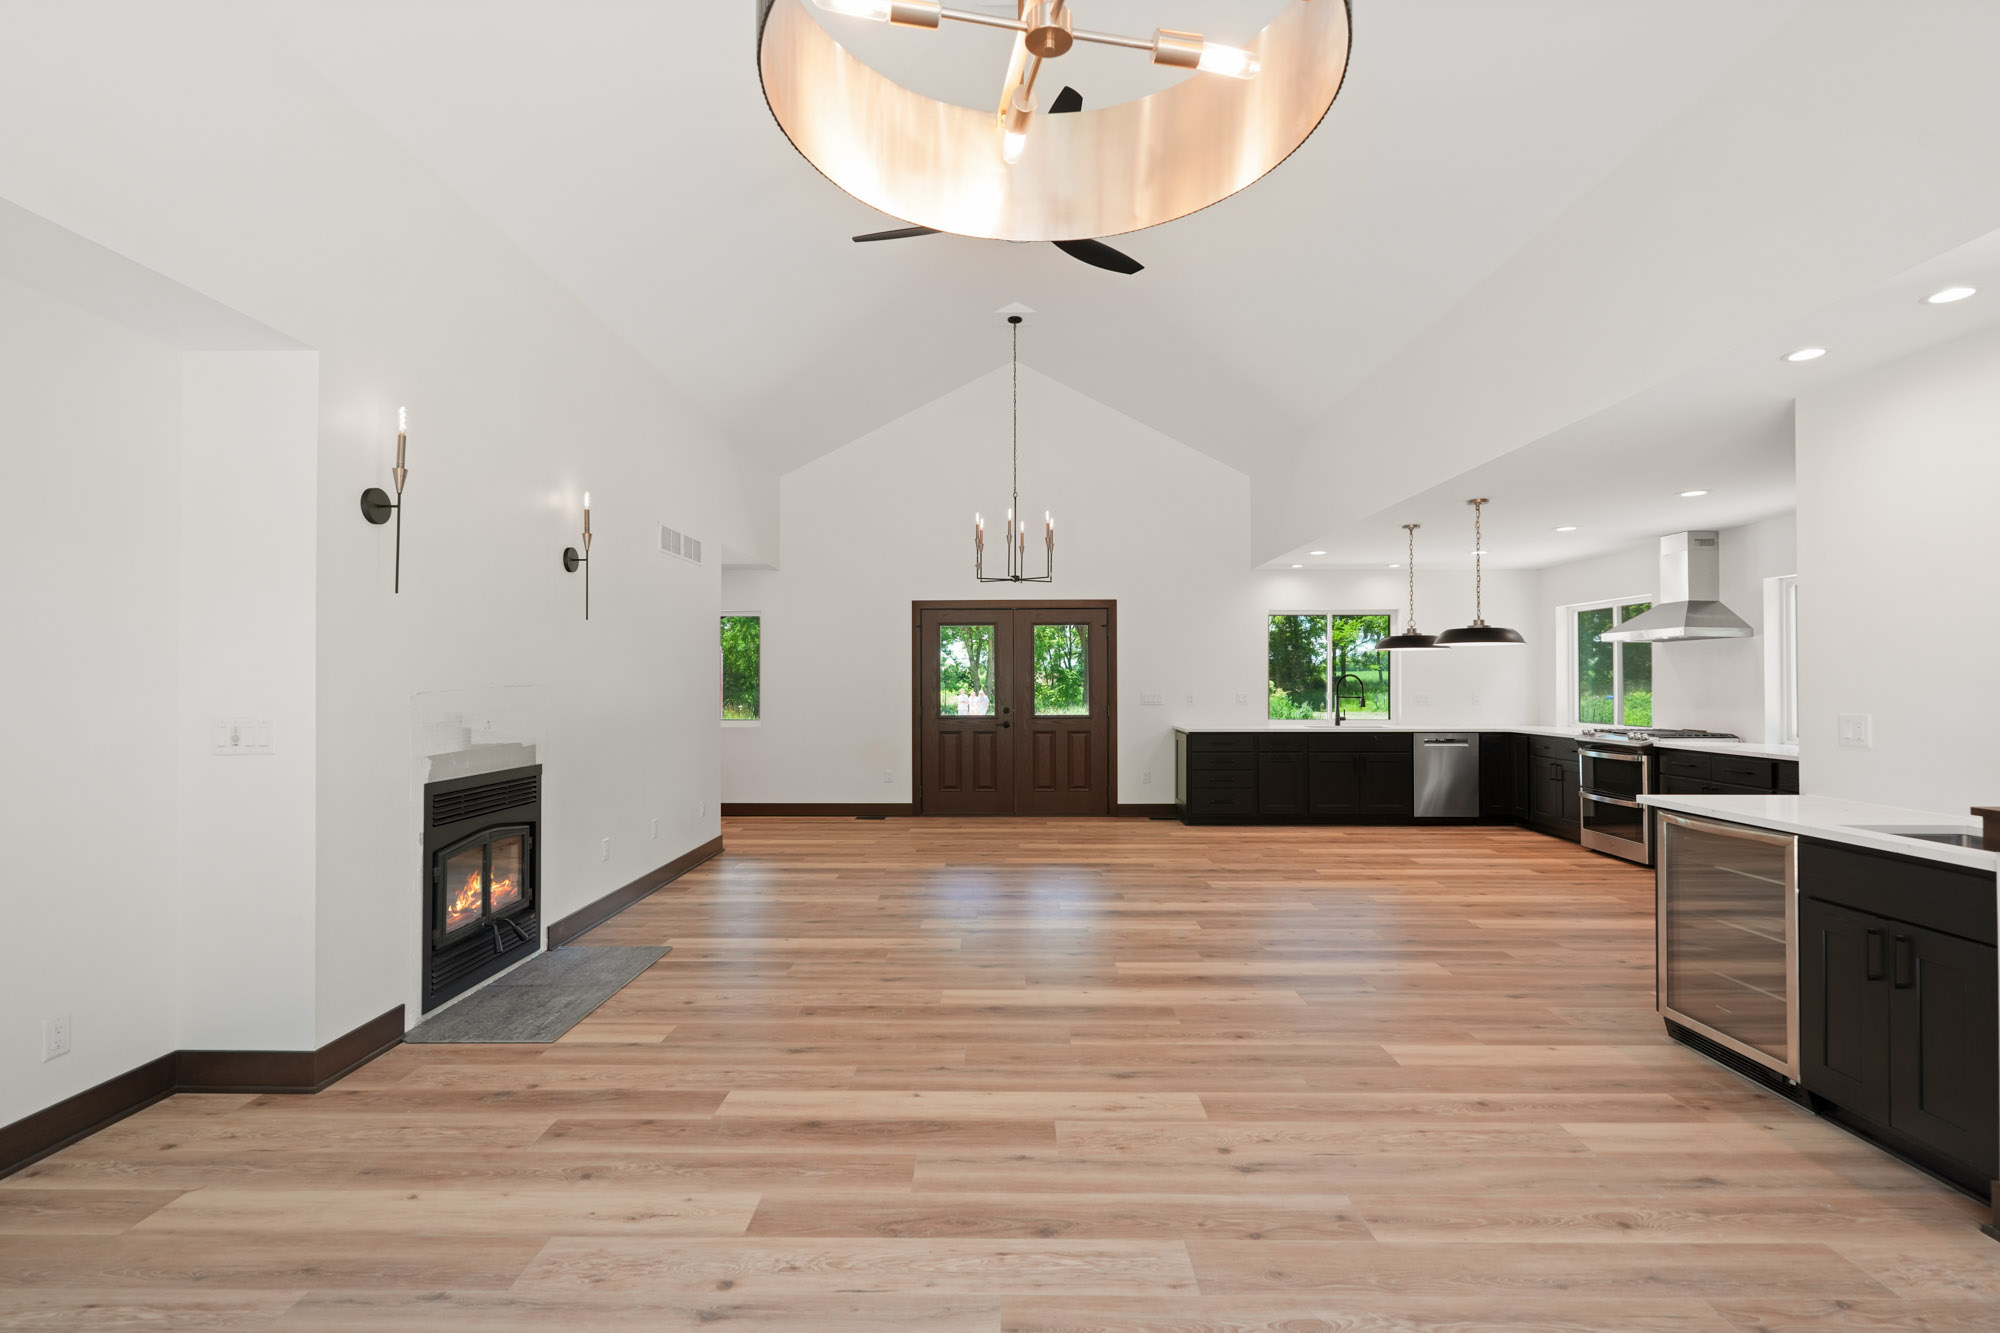
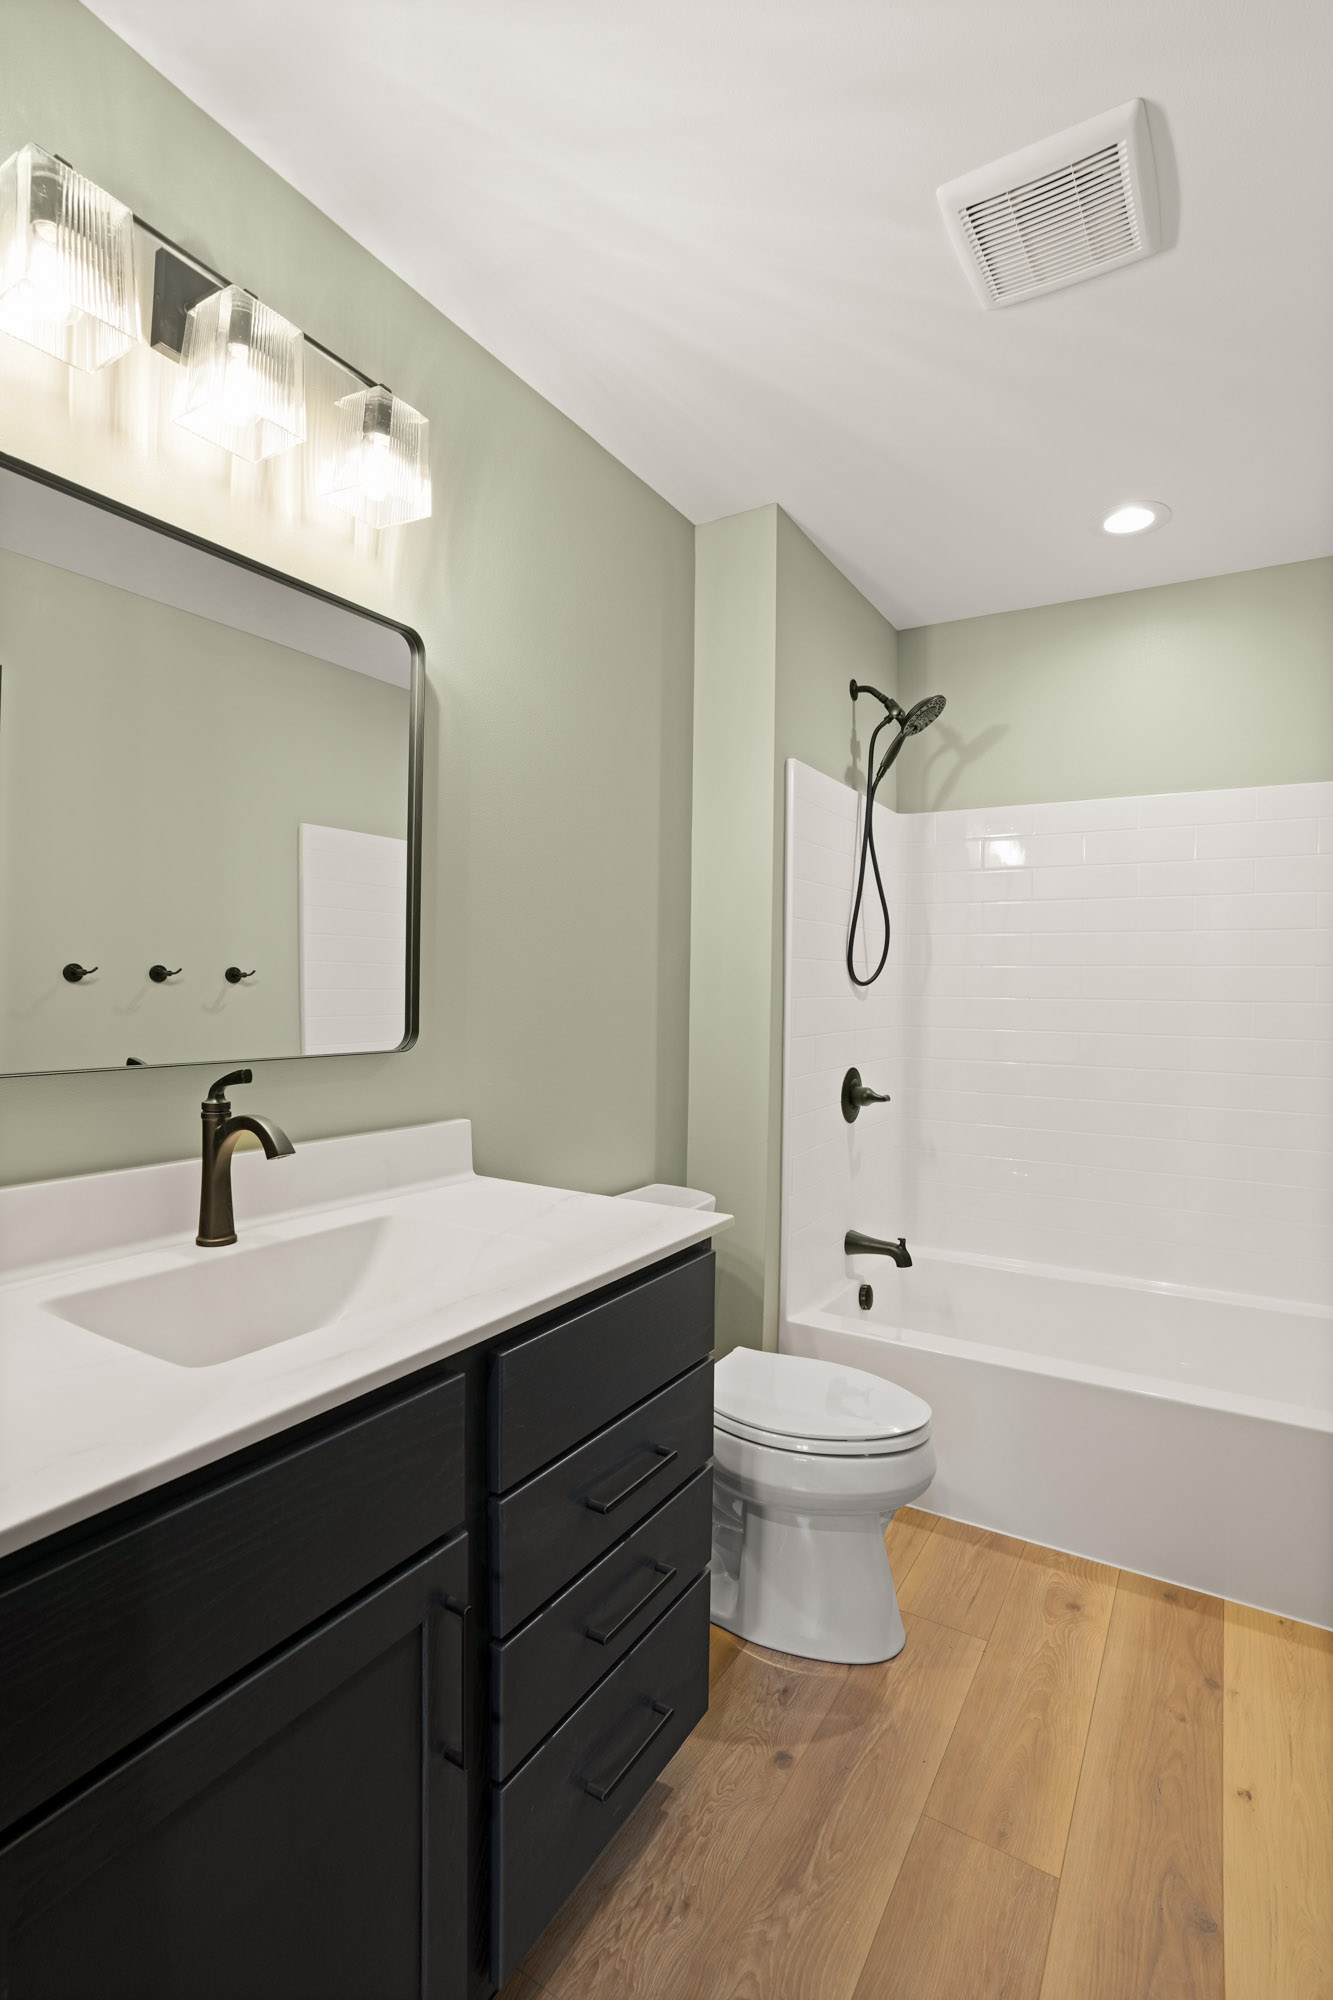
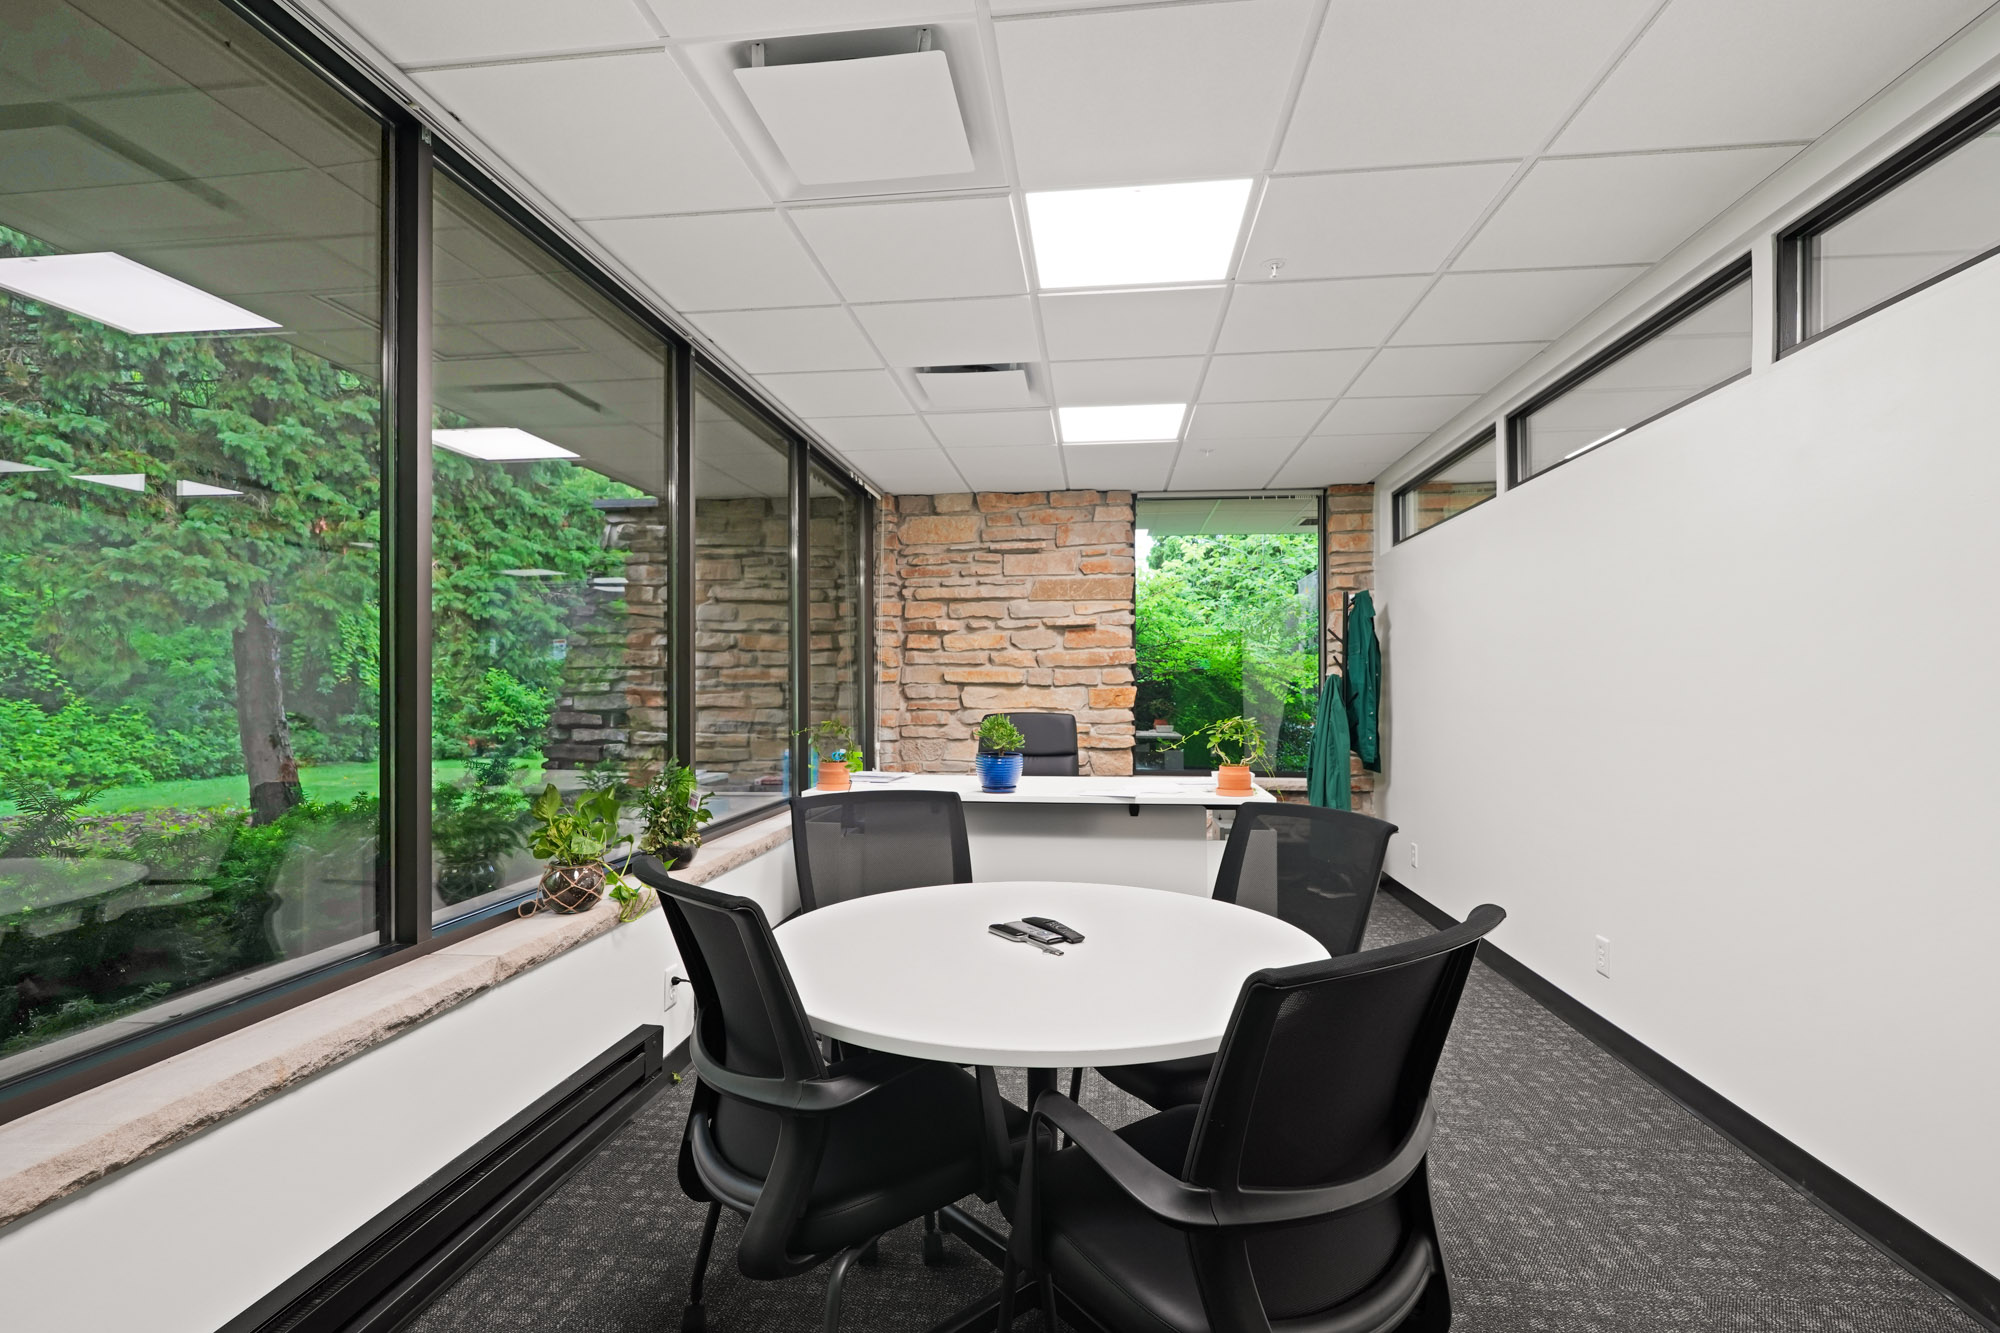
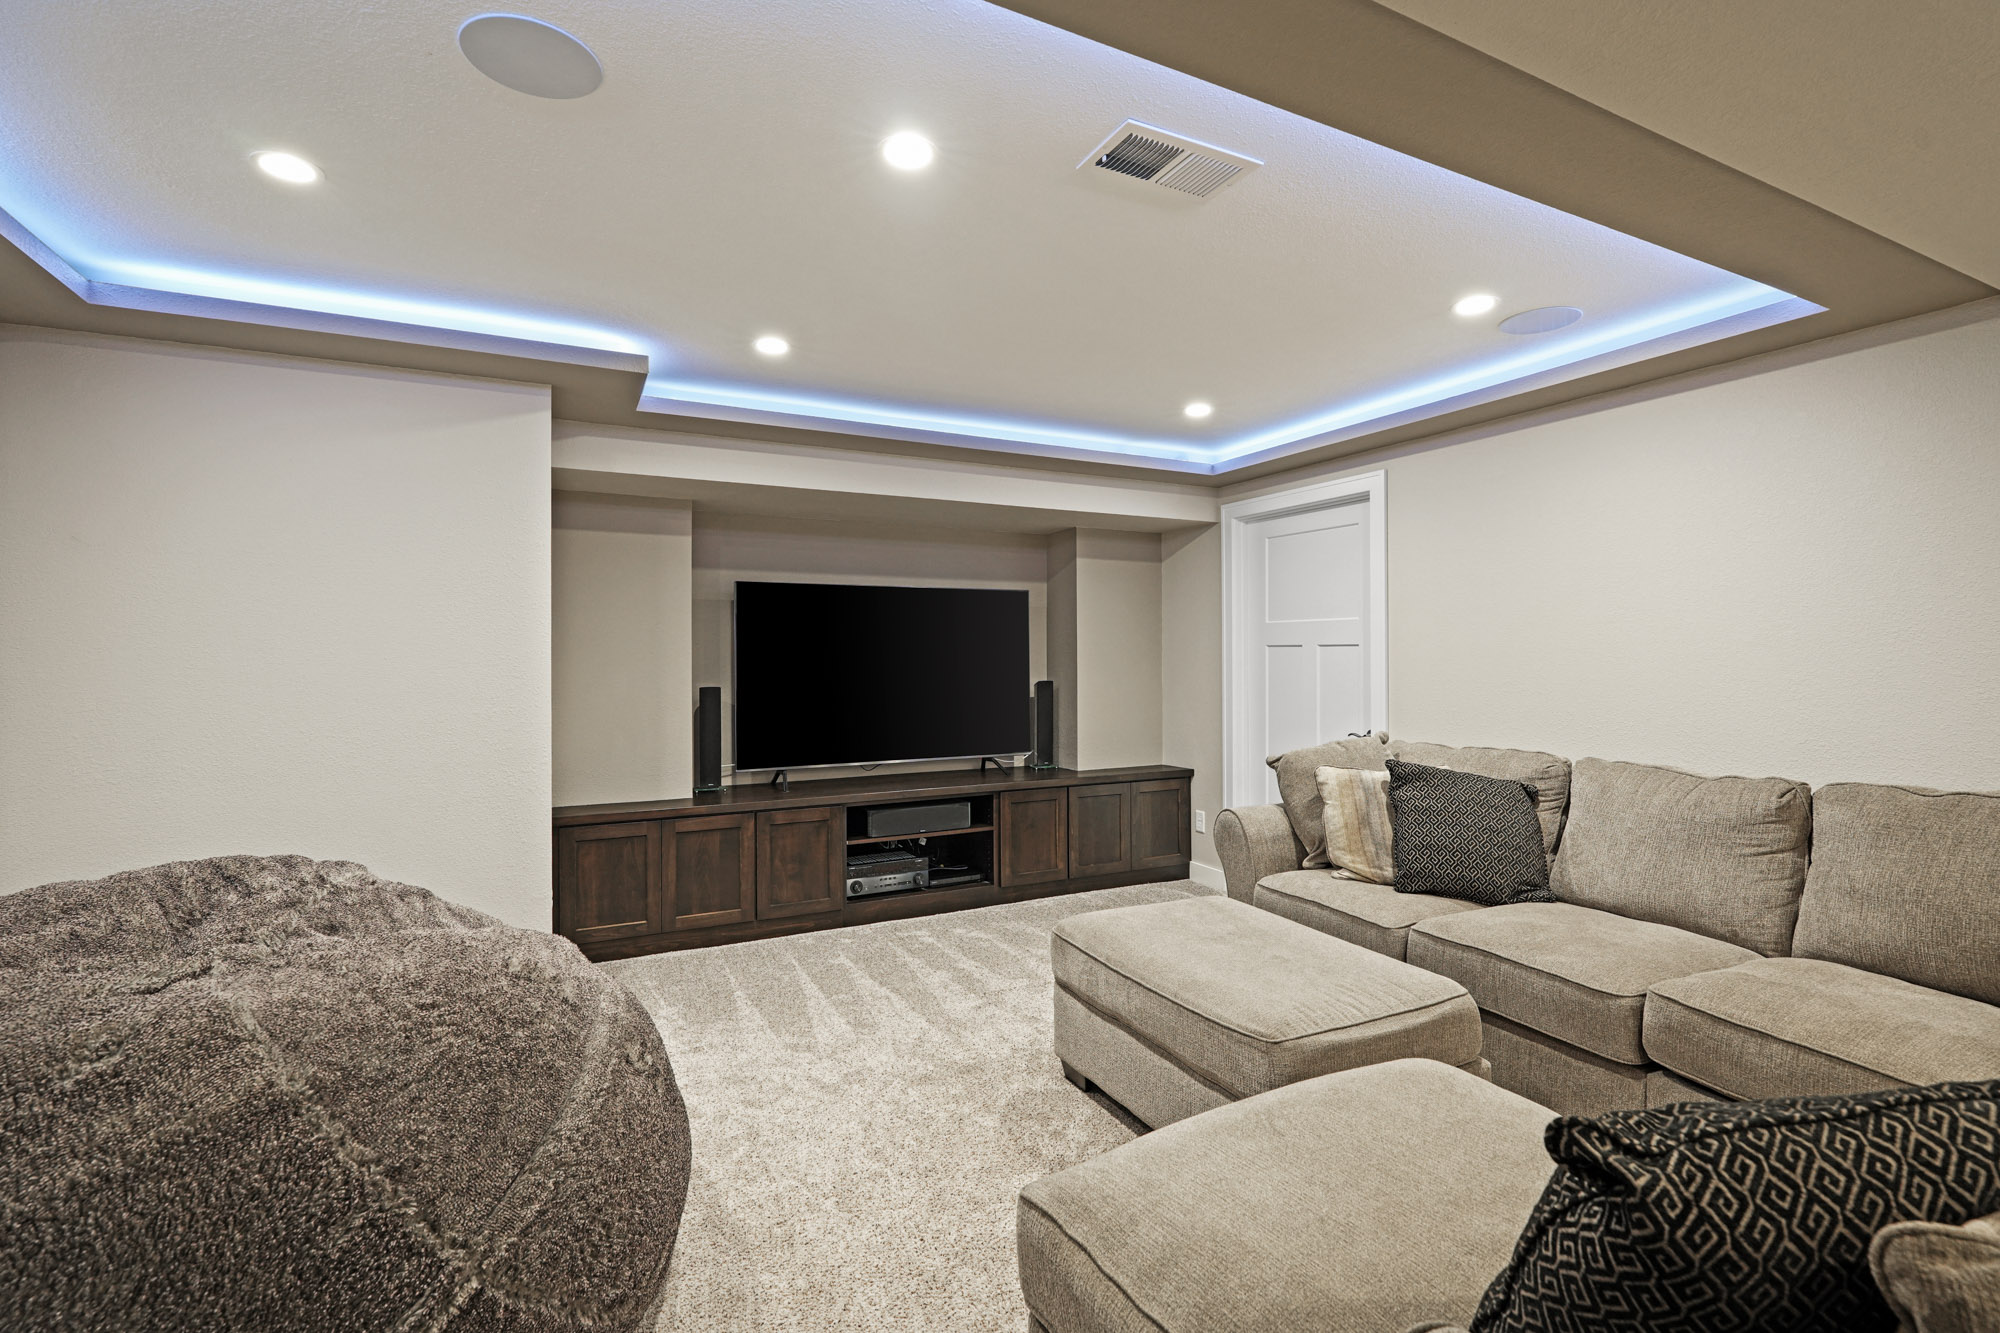
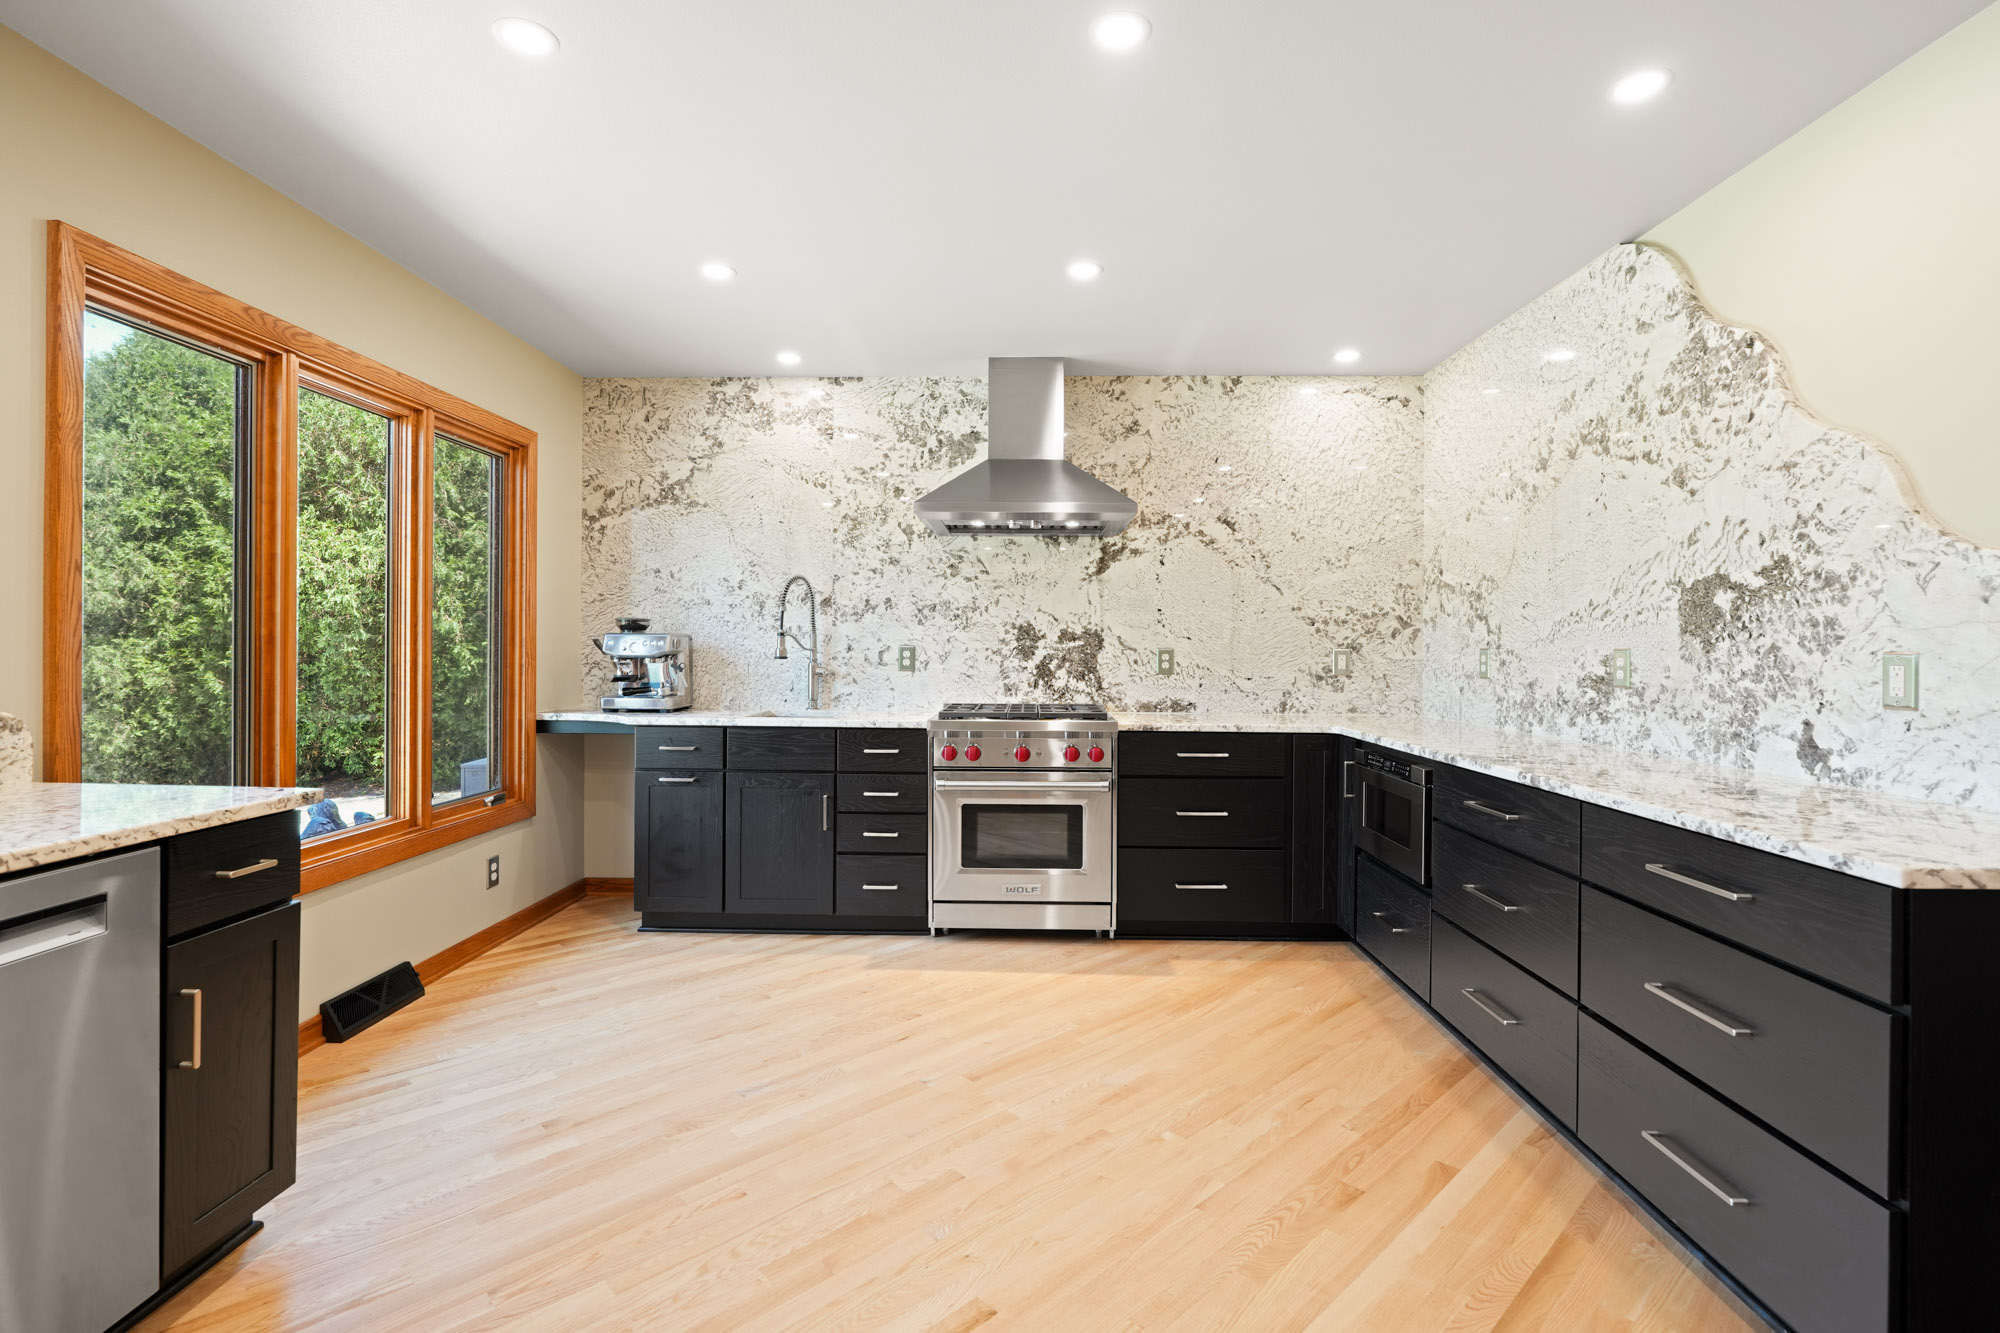
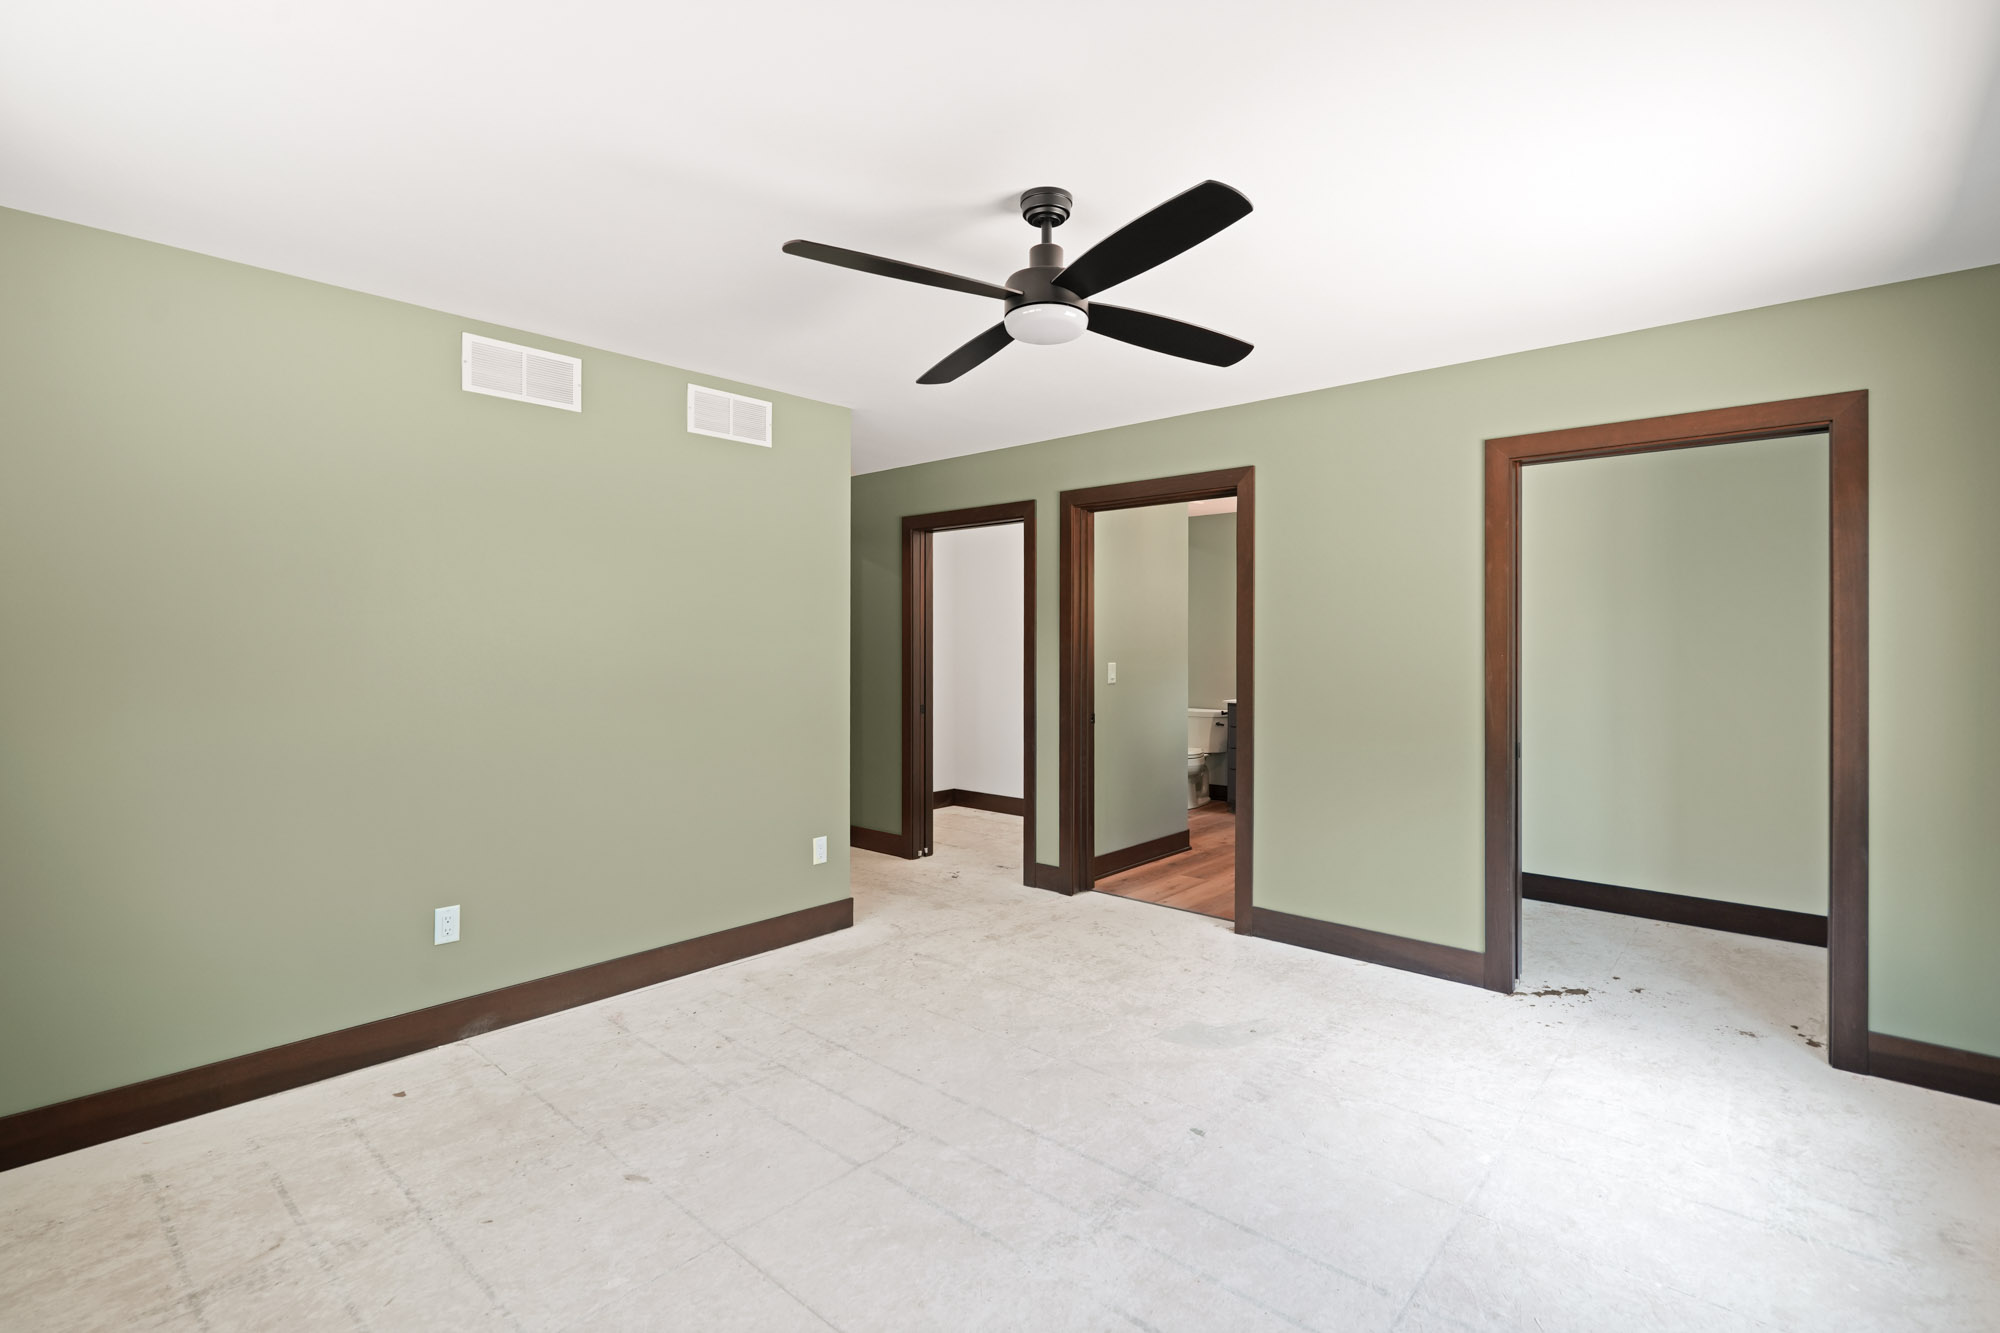
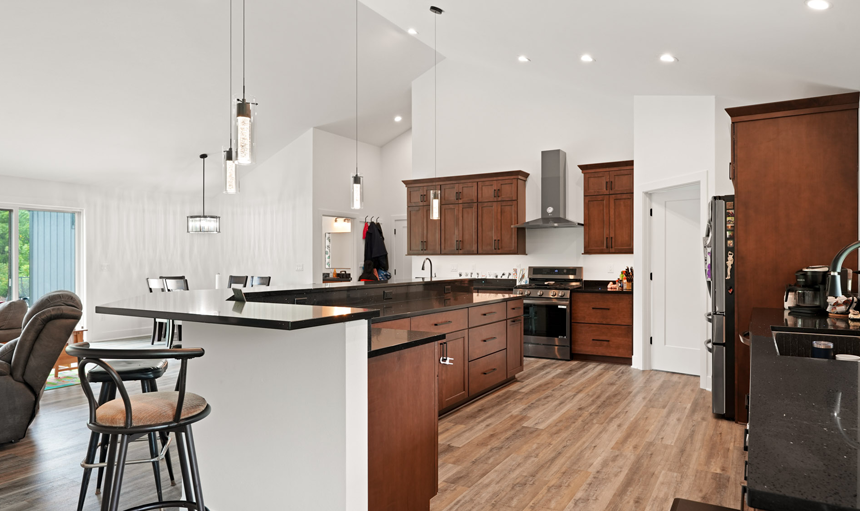
What Our Interior Wall Work Actually Covers
We frame with wood or steel studs depending on the application. Wood framing is standard for most residential work. Steel stud framing is common in commercial tenant improvements and basement partition walls where moisture is a factor.
On the drywall side, the scope includes:
- Hanging and fastening drywall panels (1/2-inch for standard walls, 5/8-inch for ceilings or fire-rated assemblies)
- Taping all seams with mesh or paper tape
- Three coats of joint compound: tape coat, filler coat, finish coat
- Metal corner bead on all outside corners
- Texture matching on partial replacements where existing walls have knockdown, orange peel, or smooth finishes
- Sanding and prep for paint
Painting itself is not included in this scope. We bring walls to a paint-ready condition, primed if specified, but finish paint is a separate contract. That’s worth knowing upfront so estimates are comparing the same scope. Projects like basement remodels and home additions almost always include a full interior wall scope.
How We Handle It From Framing to Final Coat
Sequencing matters as much as craft. Framing goes up first. Then rough-in trades, electrical, plumbing, HVAC, run their work through the wall cavities. Inspections happen before anything gets closed in. Drywall doesn’t go up until rough-ins are approved.
That order sounds obvious, but it’s where jobs with poor coordination go sideways. Drywall hung before an electrical rough-in inspection gets cut back open. Insulation skipped in a partition wall creates a noise problem that’s expensive to fix later.
Once drywall is hung, we run tape and three coats with dry time between each. Rushing coats by applying wet mud over wet mud causes cracking and shrinkage. Final sanding is done under bright work lights to catch any ridges or tool marks before the space is handed off for paint.
Get a Straight Answer Before Work Starts
If you’re not sure what scope you need, or you’ve gotten bids that don’t seem to be covering the same things, we’ll walk through it with you. No vague estimates. Reach out to schedule a conversation and we’ll give you a clear picture of what the work involves and what it will cost.
